
WHAT YOU NEED TO KNOW
Preparing fresh, nutrient-dense meals for your infant is surprisingly simple, cost-effective, and allows you to control every ingredient that goes into their bowl.
Learning how to make baby food at home helps you introduce healthy eating habits early while saving money on commercial jars.
- Homemade baby food costs up to 50% less per serving than store-bought options.
- Fresh purées can be safely stored in the refrigerator for up to 48 hours or frozen for up to three months.
- Most babies are developmentally ready to start solid foods around six months of age.
The ideal preparation method depends heavily on your child’s specific developmental stage and pediatric guidelines.
Why Learn How to Make Baby Food at Home?
Learning how to make baby food gives you complete control over the quality, freshness, and variety of your baby’s diet. Store-bought jars often undergo high-heat pasteurization that can reduce natural flavors and certain heat-sensitive nutrients. By making meals yourself, you can introduce your child to a wide range of real food tastes, helping them develop a diverse palate from their very first spoonful.
What Are the Benefits of Making Your Own Baby Food?
Preparing meals at home is highly economical and dramatically reduces household packaging waste. A single sweet potato or bunch of carrots can yield several servings for a fraction of the price of individual commercial tubs. Additionally, you avoid the hidden preservatives, thickeners, and excess sugars often found in shelf-stable products. You can also easily adapt your homemade baby food recipes to match whatever healthy ingredients your family is eating for dinner.
What Essential Equipment and Kitchen Tools Do You Need?
You do not need expensive, specialized gadgets to start preparing fresh purées in your kitchen. Basic kitchen tools you likely already own are perfectly adequate for cooking, blending, and portioning.
- Steamer basket: Fits inside regular pots to cook vegetables while preserving maximum nutrients.
- High-powered blender or food processor: Essential for achieving a completely smooth, silk-like texture for early stages.
- Fine-mesh strainer: Useful for removing stubborn skins, seeds, or fibers from fruit and vegetable purées.
- Ice cube trays: The perfect tool for freezing individual one-ounce or two-ounce portions.
- Fork or potato masher: Ideal for preparing quick, textured meals as your baby grows into later stages.
What Are the Essential Food Safety and Hygiene Rules?
Infants have developing immune systems that make them highly susceptible to foodborne illnesses. According to the U.S. Department of Agriculture (USDA), keeping a sanitary kitchen environment is the most critical step in preparing safe meals for your baby.
- Wash hands thoroughly: Scrub your hands with warm water and soap for at least 20 seconds before touching any ingredients or utensils.
- Sanitize surfaces and tools: Clean all cutting boards, knives, blenders, and storage containers in hot, soapy water or a dishwasher before use.
- Avoid cross-contamination: Use separate cutting boards for raw meats and fresh produce to prevent the spread of harmful bacteria.
- Check food temperatures: Use a digital food thermometer to ensure all meats and poultry reach safe internal cooking temperatures.
- Cool food quickly: Do not leave freshly cooked purées sitting at room temperature for more than two hours before refrigerating or freezing.
What Is the Step-by-Step Guide to Preparing and Cooking Baby Food?
The process of preparing wholesome meals involves selecting fresh ingredients, cooking them gently, and processing them to the right consistency. Following a methodical process ensures the food remains safe, delicious, and easy to digest.
How Do You Select and Wash Ingredients?
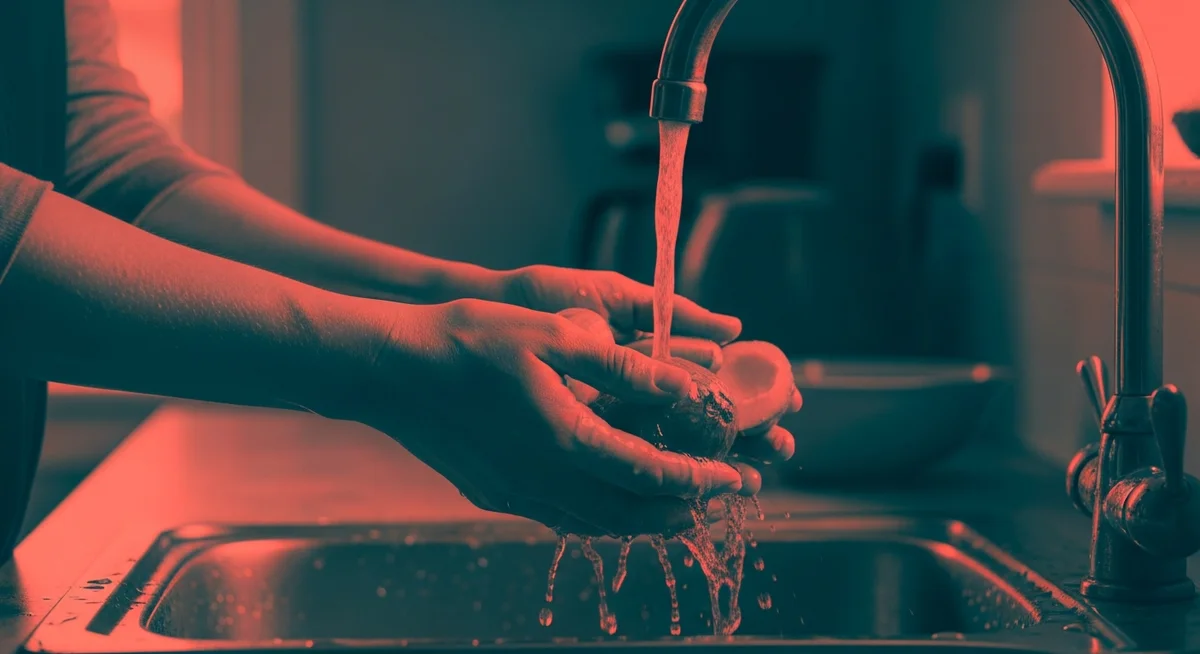
Start by choosing fresh, high-quality fruits, vegetables, or meats at their peak ripeness. The Academy of Nutrition and Dietetics recommends washing all fresh produce thoroughly under cold, running water to remove dirt, bacteria, and pesticide residues. Avoid using soaps, detergents, or commercial produce washes, as these can leave harmful chemical residues on the food. Peel skins, remove seeds or pits, and cut the food into uniform, small pieces to ensure even cooking.
Which Cooking Methods Should You Use: Steaming, Boiling, or Baking?
Different cooking methods affect both the nutrient retention and the final flavor profile of your baby’s meals. Choosing the right method depends on the specific ingredient you are preparing.
- Steaming: This is the preferred method for most fruits and vegetables because it preserves the highest amount of water-soluble vitamins.
- Baking or Roasting: Best for root vegetables like sweet potatoes and squash, as it caramelizes natural sugars to enhance flavor.
- Boiling: Simple and fast, but you should reuse the nutrient-rich cooking water to thin out the purée afterward.
How Do You Puree and Mash for Different Textures?
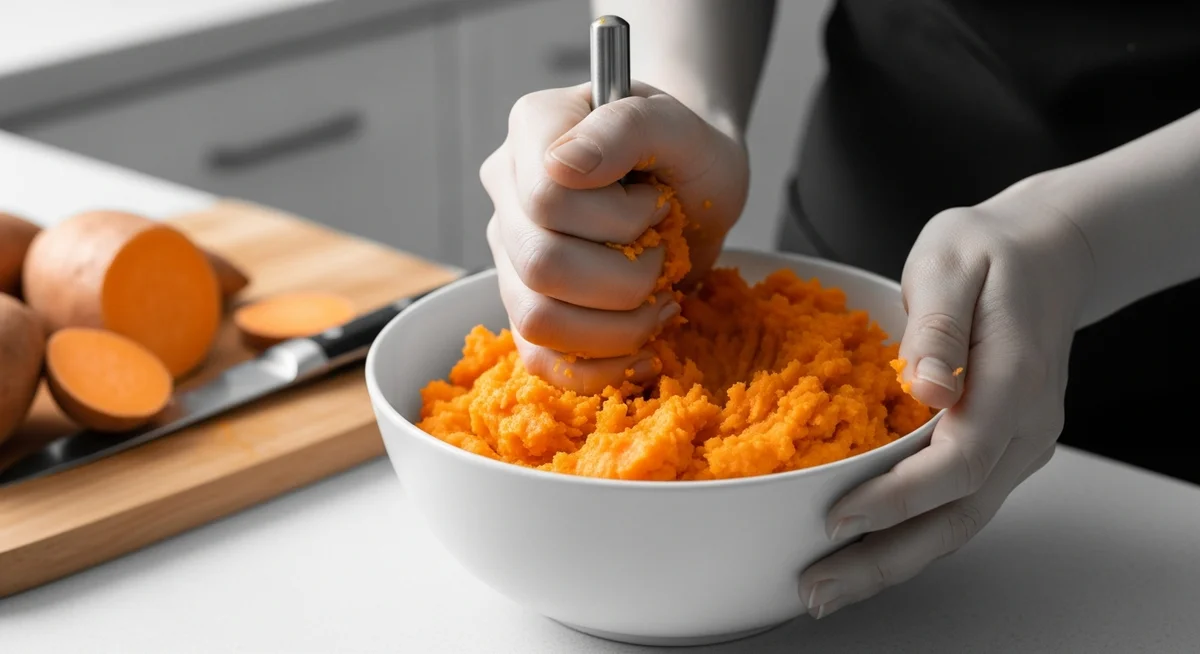
Once cooked, transfer the warm food into your blender or food processor to blend until completely smooth. You may need to add a small amount of liquid, such as breast milk, infant formula, or the cooking liquid, to achieve a fluid consistency. For older infants, you can skip the blender entirely and use a fork to mash soft-cooked foods. Gradually increasing the texture helps your baby develop the oral motor skills necessary for chewing and swallowing.
How Do Baby Food Stages and Food Groups Align?
Infant feeding is organized into distinct phases based on your baby’s age and developmental readiness. Introducing the right textures and food groups at each stage ensures safe swallowing and proper nutrition.
| Stage | Typical Age Range | Ideal Texture | Recommended Food Groups |
|---|---|---|---|
| Stage 1 | 4 to 6 Months | Thin, completely smooth purée | Single grains, sweet potato, carrots, apples, pears |
| Stage 2 | 7 to 9 Months | Thicker, slightly textured purée | Mixed vegetables, meats, poultry, beans, yogurt |
| Stage 3 | 9 to 12 Months | Chunky, soft mashed, finger foods | Soft fruits, pasta, ground meats, scrambled eggs |
What Is Stage 1 (4 to 6 Months): Single-Ingredient Purées?
At the very beginning of solid feeding, focus on single-ingredient foods to identify any potential food allergies. Introduce only one new food at a time, and wait three to five days before introducing another.
- Single grains: Iron-fortified baby oatmeal mixed with breast milk or formula.
- Root vegetables: Silky purées of orange sweet potato, butternut squash, or carrots.
- Mild fruits: Gentle purées of ripe bananas, cooked apples, or steamed pears.
What Is Stage 2 (7 to 9 Months): Thicker Textures and Combinations?
Once your baby tolerates various single ingredients, you can start combining flavors and introducing thicker textures. This stage is perfect for adding iron-rich proteins and healthy fats into their daily routine.
- Fruit and vegetable blends: Combine apples with spinach, or sweet potato with peas.
- High-protein purées: Smooth blends of thoroughly cooked chicken, turkey, beef, or lentils.
- Dairy and healthy fats: Unsweetened whole-milk Greek yogurt mixed with avocado or berry purée.
What Is Stage 3 (9 to 12 Months): Chunky Foods and Finger Foods?
By this stage, your baby is developing a pincer grasp and can handle small, soft pieces of table food. Focus on soft textures that are easily mashed between their gums, even if they do not have teeth yet.
- Soft finger fruits: Small, bite-sized pieces of ripe banana, avocado, or steamed peach.
- Flaked proteins: Tiny, well-cooked pieces of ground meat, shredded chicken, or scrambled eggs.
- Soft grains and pasta: Well-cooked whole wheat pasta shapes, brown rice, or soft bread pieces.
Which Foods Should You Avoid in Homemade Baby Food?
Certain foods pose serious health risks or choking hazards for infants and must be strictly avoided during their first year of life. Always consult your pediatrician if you are unsure about a specific ingredient.
- Honey: Never give honey to a baby under 12 months due to the risk of infant botulism, a rare but serious illness.
- Cow’s milk: Avoid introducing regular cow’s milk as a primary drink before one year, though yogurt and cheese are acceptable in cooking.
- Unpasteurized foods: Do not feed infants unpasteurized juice, milk, or raw milk cheeses which can harbor dangerous bacteria.
- Added sodium and sugar: Do not add salt, sugar, honey, syrups, or artificial sweeteners to any homemade baby food recipes.
- Hard, round choking hazards: Avoid whole grapes, hot dog rounds, hard candies, raw carrots, and whole nuts.
How Do You Freeze and Store Homemade Baby Food?
Proper storage is key to preserving the nutritional value and safety of your homemade meals. Since you are cooking in small batches, learning the correct freezing and storage methods will save you immense time throughout the week.
Which Freezing Methods Work Best: Ice Cube Trays or Cookie Sheets?
Freezing is the most efficient way to store larger batches of homemade meals without losing freshness. Following proper freezing baby food purée guidelines ensures your hard work does not go to waste.
- Ice cube tray method: Spoon fresh purée into clean silicone or plastic ice cube trays, cover with wrap, and freeze until solid.
- Cookie sheet flash freezing: Drop portion-sized dollops of thick purée onto a parchment-lined cookie sheet and freeze for two hours.
- Transferring to bags: Once frozen solid, pop the individual food cubes out and store them in a freezer-safe bag to save space.
What Are the Safest Storage Containers and Labeling Practices?
Always store baby food in airtight, bisphenol A (BPA)-free plastic containers, small glass jars, or heavy-duty silicone freezer bags. Label every container clearly with the specific food type and the exact date it was prepared. Fresh purées keep well in the coldest part of the refrigerator for up to 48 hours. According to WIC Works, a service of the USDA, frozen baby food should be consumed within three months for optimal taste and quality.
How Do You Thaw and Reheat Baby Food Safely?
Never leave frozen purées on the kitchen counter to thaw, as this allows bacteria to multiply rapidly at room temperature. Use safe thawing techniques to ensure the food remains fresh and safe to eat.
- Refrigerator thawing: Place the frozen food portion in a sealed container in the refrigerator overnight.
- Warm water bath: Place the food jar or bag in a bowl of warm water for 15 to 20 minutes, stirring occasionally.
- Stovetop reheating: Warm the purée in a small saucepan over low heat, stirring continuously to prevent hot spots.
- Check temperature before serving: Always stir the food thoroughly and test the temperature on your wrist to ensure it is lukewarm.